
Understanding FileVault and its Role in Data Security

Last updated on March 24th, 2024 at 4:19 pm
Introduction:
In this modern era where data breaches loom at large and data privacy is a serious concern, safeguarding personal and sensitive information is paramount. Keeping this in mind, Apple has designed this wonderful encryption software to safeguard the data of its Mac users which is known as FileVault. In this article, we will take a detailed look at what exactly is FileVault and how can you safeguard your data using this encryption software known as FileVault.

What is Encryption:
Before we learn about FileVault it is important to know what encryption is. Whenever data is stored on the hard disk drive it is usually written in a language that can be easily read by any other computer. This means if someone stole just the hard disk drive and connected it with any other computer using proper cables, there is a high chance that the data stored on that drive will be easily accessible to that person.
In encryption, the data is stored on the disc in an encoded form using special algorithms in a manner that even if the disc is lost or stolen no one will be able to read the data unless the proper decoding key is entered. This decoding key could be a password, a biometric, or a combination of both depending on the sensitivity of the information.
What is FileVault:
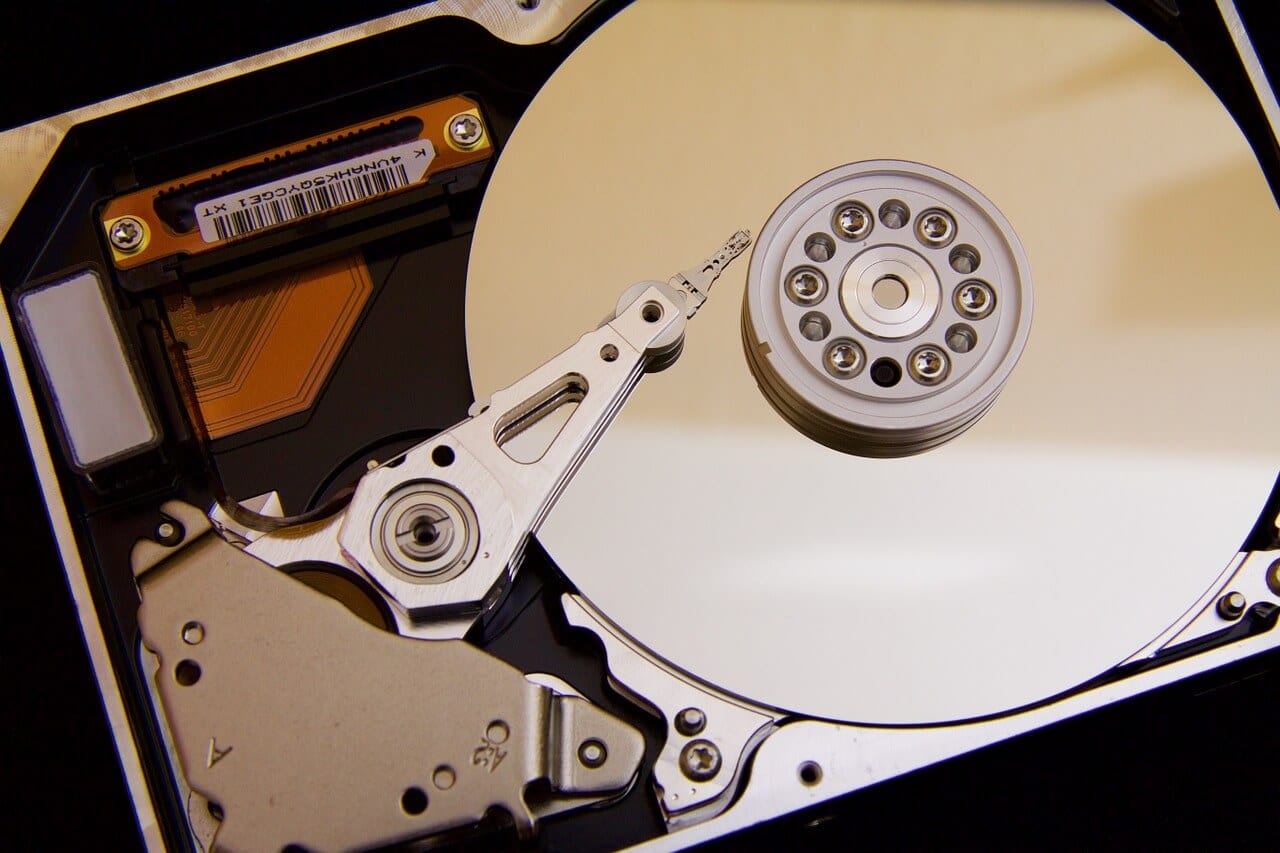
FileVault is a wonderful encryption software which is built-in for Mac users. It is a part of Apple’s Mac Operating System. Introduced in Mac OS X Panther (10.3), it has been refined multiple times over the subsequent versions. It provides full disc encryption for the contents of the Mac’s startup disk. It scrambles the data on the startup disc in such a manner that it is rendered unreadable and useless without its decryption key.
Key features of the FileVault:
- FileVault is the proprietary encryption software for MacOS computers.
- It is a full disc encryption software.
- FileVault provides a 128-bit AES encryption with a 256-bit key.
- FileVault operates on the block level, which means the data is encrypted and decrypted on the fly as you continue to use the computer without impacting the performance or speed of the system.
How to use FileVault to protect data:
You don’t need any technical knowledge to enable and use FileVault. The encryption of the data on FileVault happens automatically and in real-time. This means simply enable FileVault and you are good to go. You can use your computer normally as you always do, and you won’t even know that there is encryption going on in the background.
As soon as you turn your computer off or the screen gets locked, the data will be encrypted and will decrypt only when you enter the key/passcode. Other than that, no user intervention is needed and the process is an autonomous encryption.
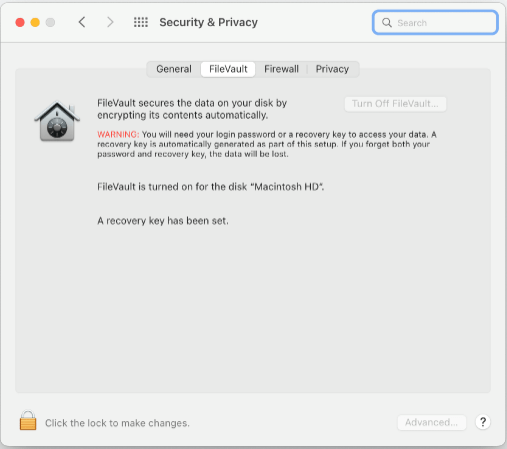
How to check the status of FileVault
Before we learn how to enable FileVault, it is important to know what the current status of FileVault is. To check the status of FileVault you need to follow the following steps:
- Click on the Apple Menu
- Select System Preferences.
- Go to Security & Privacy.
- Click FileVault to check the status.
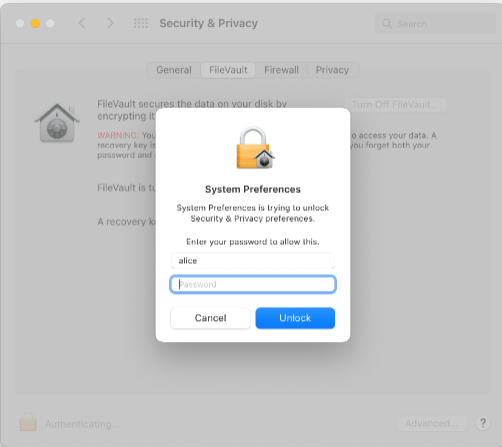
How to enable FileVault:
Once you check the status of FileVault as mentioned above, if the status is enabled you are good to go. If however, the status is disabled, follow the following steps to enable FileVault.
- Click on the Apple Menu
- Select Preferences and go to Security & Privacy.
- Click FileVault
- Click on the Lock Icon and then add your administration login ID and password.
- Now select Turn on FileVault and add the administration login ID and password again if prompted.
- Once done you need to select how you would like to unlock the disc. There are two options given. You can select any one of them. The following are the 2 options available.
- iCloud Account: If you are already using iCloud Account, you can click on “Allow my iCloud Account to unlock my disc.” If, however, you do not have an iCloud Account you will have to set up one by clicking on “Setup my iCloud Account to reset password.”
- Recovery Key: If you do not wish to use your iCloud Account you can create a recovery key by clicking on “Create a recovery key and do not use my iCloud Account.” Make sure you keep this recovery key safe and do not forget the same.
- Finally, Click on Continue and follow the steps to successfully activate FileVault.
There are a few important points that you need to keep in mind while enabling FileVault.
- Firstly, the encryption will not happen in sleep mode.
- Mac needs to be connected to power for activation.
- If there are multiple users on your Mac, you may be prompted to add the passwords of all the users to be able to unlock the disc.
- The users added after enabling FileVault will be automatically encryption enabled.
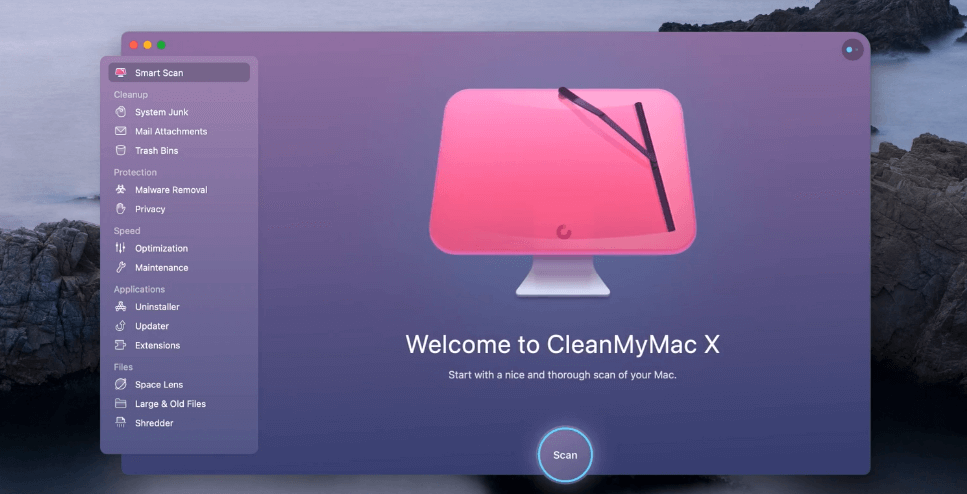
The FileVault works seamlessly and there won’t be any impact on the performance speed of your MacBook. However, in exceptional circumstances, if you experience that your MacBook has slowed down then it is recommended that you run your PC through a cleaner to know what is impacting the performance of your MacBook. To run a cleaner follow the following steps:
- Visit CleanMyMac X website.
- Follow the onscreen instructions to clean up and optimize your MacBook.
- The best part is you can run a free 7-day Trial and see the effectiveness of this software.
- Be it large hidden files, or system junk, or even some malware, Cleanmymac software is effective in finding all of them.
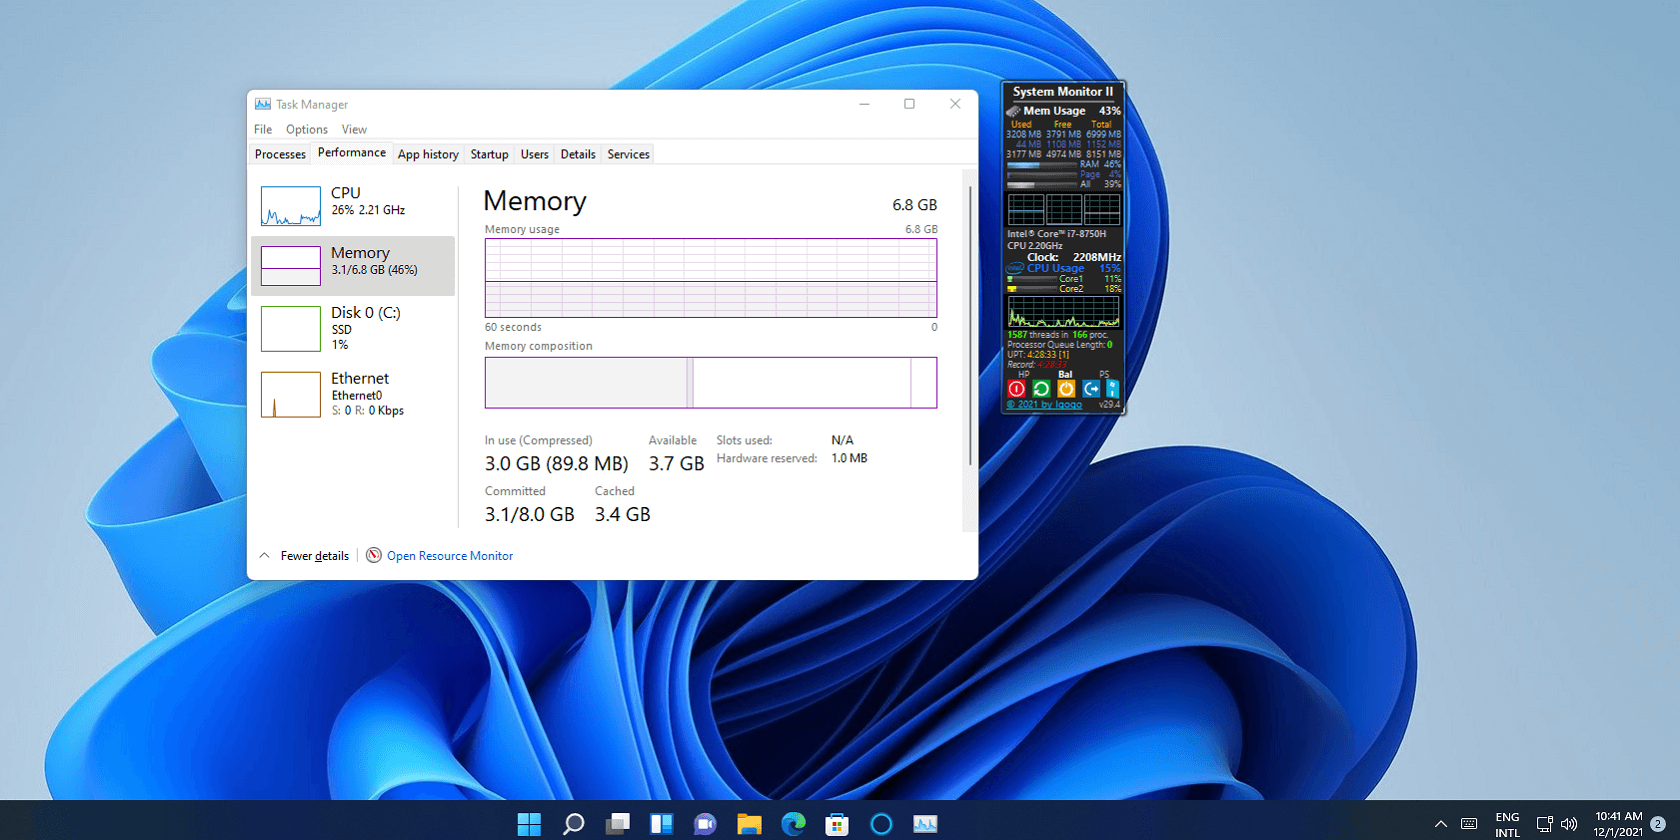
Once done you must see a drastic improvement in the performance of your MacBook. This is how the homepage of Cleanmymac software will look like:
How to unlock your MacBook with Recovery Key
Generating a Recovery Key for unlocking the MacBook is an excellent way of improving the security of your data. However, the following are the important points that you need to remember before using Recovery Key.
- The Recovery Key is a 28-character randomly generated code.
- It is important for the user to write the recovery key somewhere and keep it safe as Apple will not remember or store it anywhere.
- Turning on the Recovery Key would mean that the alternative account recovery method will be turned off.
The following are the steps needed to be followed to generate a recovery Key:
- Go to System Preferences à Apple ID à Account Details
- Add your Apple ID and Password (If prompted)
- Click on Security
- In the Recovery Key Section select Turn On.
- Click on Use Recovery Key. Note down this recovery Key and keep it in a safe place.
- Click Continue.
- Confirm the Recovery Key by entering it on the next page.
To unlock your computer using the Recovery Key follow the following steps:
- Restart your MacBook.
- Enter your password or click on the? button.
- Click on “Restart and show password Reset options.”
- Now choose the “Reset using Recovery Key” option.

- Select the user for whom you wish to reset the password.
- Now enter the FileVault key and click on Next.
- Enter the new Password and click on next.
- When the password reset is complete restart your MacBook again.
What to do in case you lose your Recovery Key
It is very important that you store the Recovery Key generated by Apple in a safe place where no one else can access it because Apple doesn’t store the Recovery Key in any place and if someone else gets access to the same then the whole purpose of FileVault fails. If, however, in exceptional circumstances, you forget or lose the Recovery Key you can regenerate the recovery key provided you are logged in to your Apple ID on an alternative device such as an iPhone. To do this you need to follow the following steps:
- Sign in with your Apple ID on the applied.apple.com
- Sign in using your password from your trusted device.
- In the Sign-in section go to Recovery Key à Change Recovery Key.
The above steps will work only if you are already logged in with an alternative device using the same Apple ID. If you do not have any alternative device using the same Apple ID, then there is no way you can recover the Recovery Key and you will lose access to all the data stored on that user. Besides, you will need to create a new Apple ID to be able to use your device.
Conclusion
FileVault plays a significant role in safeguarding your data on MacOS and by providing full disc encryption, Apple ensures robust protection against any and all unauthorized access. Be it your data, applications, system settings, or files, everything is safeguarded by FileVault. It is a state-of-art encryption technology which comes in handy to all MacOS users and ensures their peace of mind always safeguarding their critical data from prying eyes.
Author Bio:
Dinesh Lakhwani 
Dinesh Lakhwani, the entrepreneurial brain behind “TechCommuters,” achieved big things in the tech world. He started the company to make smart and user-friendly tech solutions. Thanks to his sharp thinking, focus on quality and the motto of never giving up, TechCommuters became a top player in the industry. His commitment to excellence has propelled the company to a leading position in the industry.
Popular Post


Recent Post

Supercharge Your Productivity: A Solopreneur’s and SMB’s Guide to Mastering Google Workspace with Gemini’
Picture this. It’s Monday morning. You open your laptop. Email notifications flood your screen. Your to-do list has 47 items. Three clients need proposals by Friday. Your spreadsheet crashed yesterday. The presentation for tomorrow’s meeting is half-finished. Sound familiar? Most small business owners live this reality. They jump between apps. They lose files. They spend […]

9 Quick Tips: How To Optimize Computer Performance
Learn how to optimize computer performance with simple steps. Clean hard drives, remove unused programs, and boost speed. No technical skills needed. Start today!

How To Speed Up My Computer/Laptop Windows 11/10 [2025]
Want to make your computer faster? A slow computer can be really annoying. It takes up your time and makes work more difficult. But with a few easy steps, you can improve your laptop’s speed and make things run more smoothly. Your computer slows down over time. Old files pile up. Programs start with Windows. […]

How To Fix Low Disk Space Error Due To A Full Temp Folder
A low disk space error due to a full temp folder is a common problem. Many users face this issue daily. Your computer stores temporary files in special folders. These files ensure optimal program performance, but they can accumulate as time goes on. When temp folders get full, your system slows down. You might see […]
How to Use Disk Cleanup on This Computer: Step-by-Step Guide
Computers getting slow is just the worst, right? Well, yes! Files pile up on your hard drive. Luckily, the Disk Cleanup tool on your PC is here to save the day. It clears out unnecessary files, giving your system the boost it needs to run smoothly again. A lot of users aren’t aware of the […]

Top 25 Computer Maintenance Tips: Complete Guide [2025]
Computer maintenance tips are vital for every PC user. Without proper PC maintenance, your system will slow down. Files can get lost. Programs may crash often. These computer maintenance tips will help you avoid these problems. Good PC maintenance keeps your computer running fast. It makes your hardware last longer. Regular computer maintenance tips can […]
Reclaiming Disk Space On Windows Without Losing Files: A Complete Guide
Running low on storage can slow down programs and trigger that annoying “low disk space” warning. Files accumulate over time, cluttering the drive. The good news? It’s possible to reclaim space without deleting anything important. Reclaiming disk space on Windows without losing files is easier than you think. Your computer stores many temporary files, old […]

Fix Issues Downloading From the Microsoft Store on Windows 11, 10 PC
Do you get excited when you’re about to download a new app or game? You open the Microsoft Store, click the download button… but nothing happens. Or maybe it starts and then suddenly stops. Sometimes, strange messages pop up like “Something happened on our end” or “Try again later.” That can be really annoying. But […]

Fix Low Disk Space Errors Quickly On Windows 11, 10 PC [2025]
Low disk space errors can slow down your Windows PC. These errors appear when your hard drive runs out of room. Your computer needs space to work properly. When space runs low, programs crash and files won’t save. Windows shows warning messages about low disk space. Your PC may freeze or run slowly. You might […]
How To Uninstall Software From My Computer: Complete Guide [2025]
Learning how to uninstall software from my computer is a key skill. Every PC user needs to know this. Old programs take up space. They slow down your system. Unused software creates clutter. When you remove a program from computer, you free up storage. Your PC runs faster. You also fix issues caused by bad […]