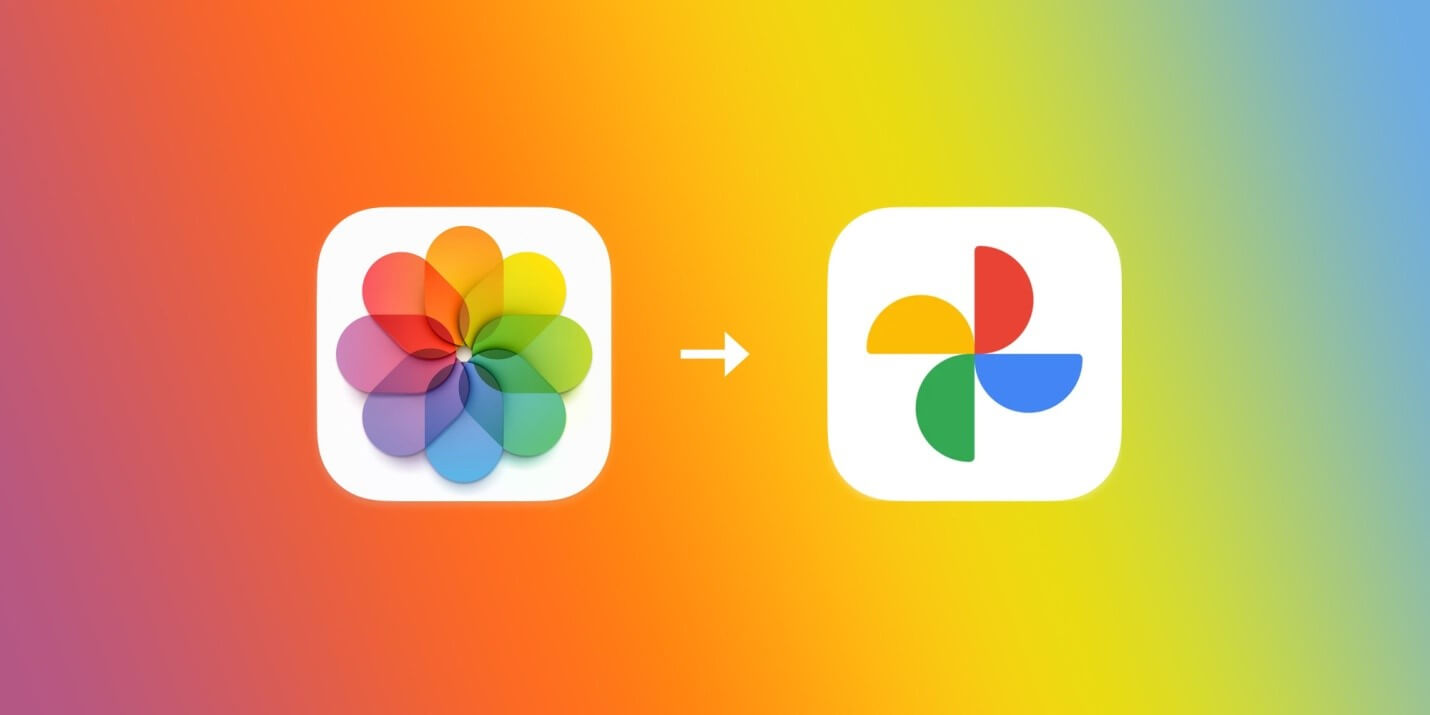
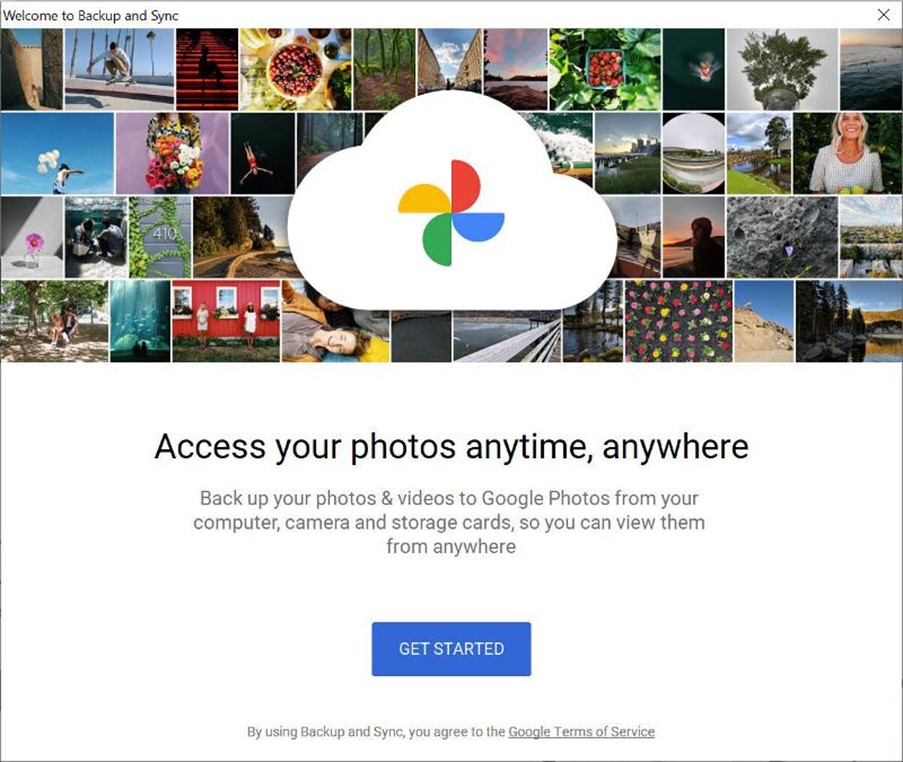
How to Upload/Move/Migrate from iPhoto to Google Photos [2025]
Last updated on August 12th, 2025 at 4:46 am
Admit it or not, keeping up with a large photo collection can be cumbersome, particularly if you’re still using Apple iPhoto. Although iPhoto was formerly a go-to option for many Mac users when it came to storing precious memories, its limited capabilities made it super difficult to organize and view your photos over time.
Fortunately, with the advent of popular cloud storage services like Google Images, it becomes simpler to store and access images from a centralized location without actually impacting your physical storage space. This tutorial will show you how to migrate your iPhoto library to Google Photos and will also discuss effective tips to make the most of your iPhone’s iPhoto collection. But before proceeding, let’s just figure out, why Google Photos is a great choice for storing your iPhone memories.
Recognizing Google Photos’ Advantages
Understanding why Google Photos is a popular option for many people is crucial before beginning the file transfer process:
- Ample Amount of Storage: Google Photos is a desirable choice for users wishing to store files because it provides free storage for thousands of high-quality images and videos.
- Advanced Editing Features: To improve user experience, Google Photos offers editing tools, automatic organizing, and sophisticated search features.
- Cross-Platform Compatibility: Google Photos is available on multiple platforms, such as iOS and Android, in contrast to iPhoto, which is only available on macOS.
- Shared Albums: You can easily create collaborative albums and invite people to contribute by sharing images and videos with friends and family.
- AI-Powered Filtering: To enhance the search process for particular photos, Google Photos uses AI to automatically arrange images by people, places, and objects.
- Google Assistant Integration: Use voice commands to search for photos, create albums, and share memories with Google Assistant.
- Offline Access: Download images and videos for offline viewing, and ensure you can access your memories even without an Internet connection.
Now that you know understand the importance of Google Photos, learn how to move pictures from the Mac Photos app to Google Photos.
Prerequisites You Need To Complete Before You Upload from iPhoto to Google Photos
Once you fulfill these prerequisites, jump to the next section
- Active Google account.
- Google Photos desktop or mobile application.
- A steady connection to the Internet.
- Make sure access to your iPhone or Mac’s iPhoto or Mac Photos library is feasible.
- Ensure your Apple devices are running and updated with the latest operating systems.
- Consider deleting duplicates & other irrelevant images to save more storage space.
- Do create albums in iPhoto for better organization. This will help in selecting specific images for moving iPhone photos to Google Photos.
- Do not forget to back up your iPhoto library, so that you can be prepared for any type of mishap.
Now without wasting any more time further, let’s learn the process to move iPhone photos to Google Photos.
Step by Step Instructions for Uploading iPhoto Library to Google Photos
Now that you understand the advantages of Google Photos. Let’s go to the detailed process of how to move pictures from the Mac Photos app to Google Photos!
METHOD 1: Direct Upload from iPhoto
It’s one of the most convenient methods to upload iPhoto library to Google Photos.
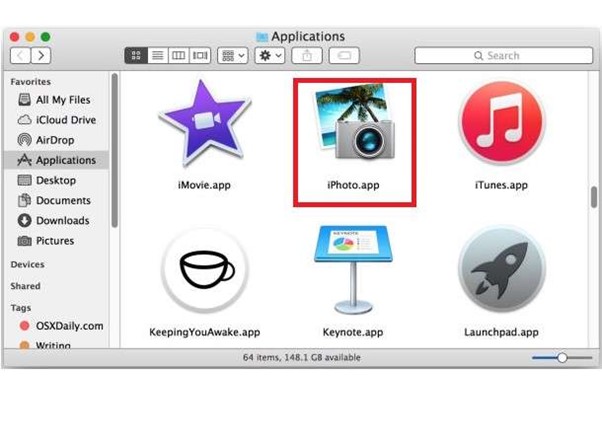
- Launch iPhoto: On your Mac, open the iPhoto application.
- Select Pictures: Select which pictures you want to post, or click “Select All” to upload all of them.
- Log in to your Google account: Make sure the Google Photos app has you logged into your Google account.
- Select the Upload Size: Choose between High Quality and Original Quality for the upload size.
- Start Uploading: Press the upload button, then watch for the procedure to finish.
METHOD 2: Export and Upload
If you don’t want to get into the manual hassle of uploading iPhoto images, start exporting and uploading your favourite images.
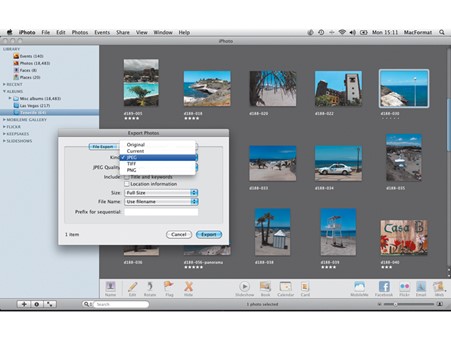
Step 1: Exporting Photos from iPhoto
- Launch iPhoto: On your Mac, open the iPhoto application.
- Start Selecting a Few Pictures: Select the albums or pictures you wish to export.
- Export Images: Click on “File” and choose “Export.”
- Select the Export Format: Choose the preferred export format, such as PNG or JPEG.
- Choose a destination folder: Choose the folder in which you wish to save the exported images.
Step 2: Google Photos upload
- Use Web Uploader:
- Open Google Photos & login: Go to Google Photos and sign in with your Google credentials.
- Select “Upload”: To choose the exported images from your PC, click the “Upload” button.
- Await Upload Process: Your photographs will be uploaded to the Google Photos cloud.
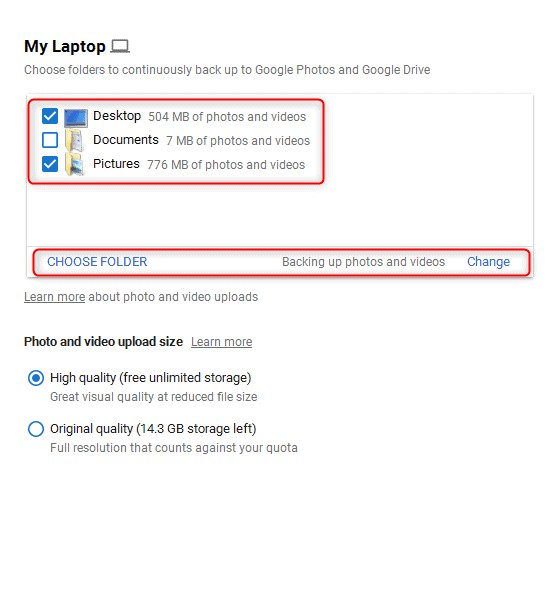
- Google Photos Desktop Uploader
- Download and Install: From the Google Photos website, download the Google Photos Desktop Uploader.
- Add Pictures: Add the exported photos to the uploader’s folder.
- Automatic Sync: The pictures will be automatically synced to Google Photos by the uploader.
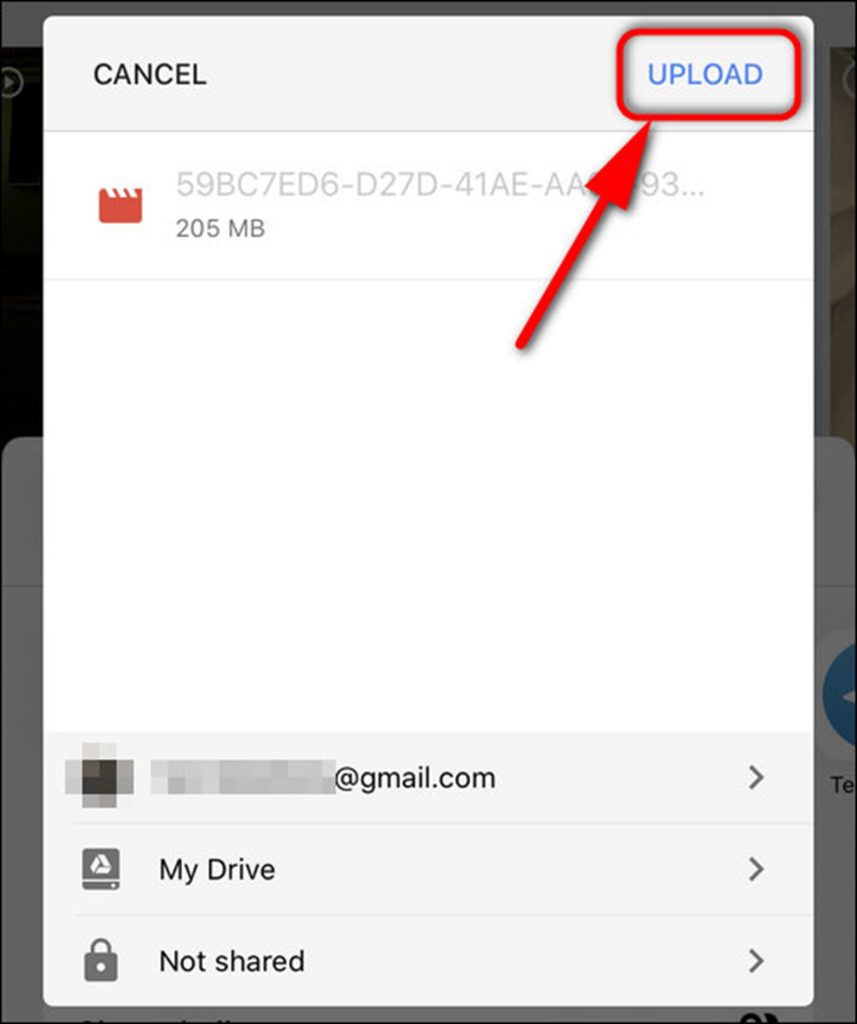
METHOD 3: Making use of the Google Drive app
- Install the Google Drive app after downloading it: Install the Google Drive app from the App Store if you haven’t already.
- Launch the Google Drive application: On your iPhone, open the Google Drive app.
- Press the “+” symbol: In the upper right corner of the screen, tap the “+” symbol.
- Click “Upload”: To choose which iPhoto library to upload, tap “Upload”.
- Select the iPhoto collection: To upload an iPhoto library to Google Photos, choose it.
- Launch the upload procedure: Click “Upload” to start the upload.
Aren’t these convenient ways to migrate your iPhoto library to Google Photos? Now let’s explore a few tricks to optimize the iPhoto library.
Best Tips to Optimize iPhoto Library on iPhone
We suggest you follow the tips jotted down below to optimize your iPhoto library on your iOS devices:
TIP 1: Make use of folders and albums.
It may be simpler to locate particular images if you arrange your collection into albums and folders. To make an album:
- On your iPhone, launch the Photos app.
- Choose “Albums” and press the “+” symbol.
- Give your album a name, then begin uploading pictures to it.
TIP 2: Add Media to Your Favorites.
Important photos can be easily accessed by using the Favorites function. To mark a photo as a favourite, just open it and hit the heart icon.
TIP 3: Keep Sensitive Media Hidden
You can hide any pictures you wish to keep private. Tap the share icon when the picture is open, then choose “Hide.” We’ll relocate the picture to a hidden album.
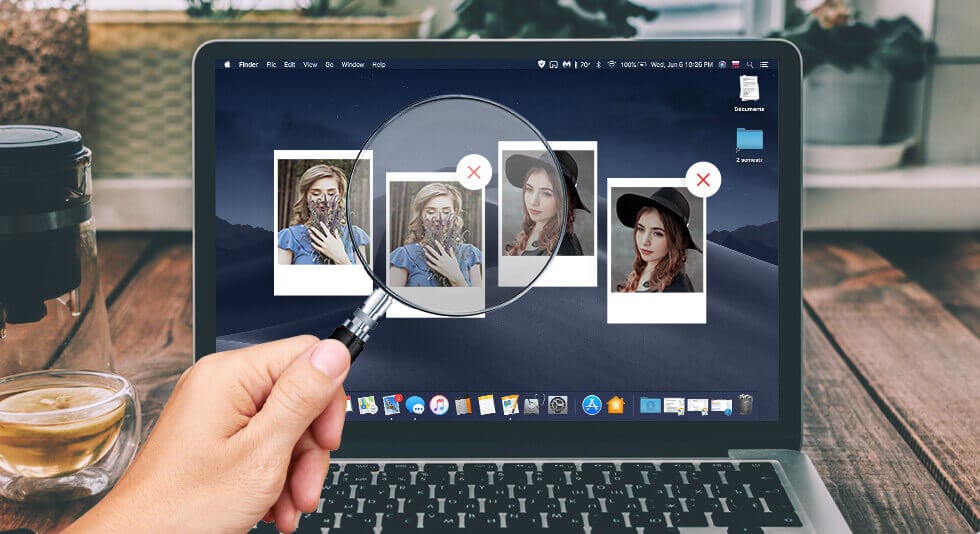
TIP 4: Remove Duplicate Pictures
It can be costly to store duplicate images. Make use of dedicated duplicate photo cleaners like Clean My Photos, Gemini 2 and so on that can help you scan, identify and remove duplicates that can help you declutter your storage space and reclaim unnecessary occupied storage space that was previously occupied with duplicate and similar photos.

TIP 5: Reduce file size
- Use dedicated applications to compress huge photo and video files.
- Consider converting your heavy & resource-hogging HEIC photos to compatible and less storage space taking photos like JPEG.
TIP 6: Frequent Maintenance
- Occasionally remove unnecessary files, old screenshots, and blurry photos.
- To save just low-resolution thumbnails on your phone, select “Optimize iPhone Storage” under Settings > Photos.
TIP 7: Make Regular Library Backups
Make regular backups of your iPhoto collection using iCloud or an external hard drive.
Consider reading our previous guide as well: How to Clear Cache and Expand Storage Space on iPhone & iPad
ADDITIONAL SUGGESTIONS FOR TROUBLESHOOTING: iPhoto Problems and Solutions
When uploading from iPhoto to Google Photos, you could run into the following typical problems, along with some solutions:
1. If the upload is stalled or failed: Make sure you have enough storage space in your Google Photos account and check your Internet connection.
2. Pictures that don’t upload in the right sequence: Verify that the images in your iPhoto collection are arranged correctly.
3. Photos not uploading with the necessary metadata: Verify that your iPhoto library contains the correct metadata for your photos, such as tags and keywords.
So, do you know any other workaround that can help you move iPhone photos to Google Photos? Do share your suggestions in the comments section below!
Frequently Asked Questions
Q1. How can I upload pictures from iPhoto to Google Photos the most effectively?
A1. The best option is to utilize the Google Backup which streamlines the entire uploading process and ensures that all of your photographs are effectively backed up.
Q2. What should I do if my Google Photos storage runs out?
A2. Upgrade your Google One storage plan or remove unnecessary files from your account.
Q3. Is it possible to have my photo backup done automatically?
A3. Yes, automated backups of images and movies across several web platforms are possible using tools like PicBackMan.
Q4. Will the move have an impact on the quality of my photos?
A4. While choosing “Original Quality” maintains the original resolution, choosing “High Quality” during upload may result in some compression.
NEXT READ:
Author Bio:
Dinesh Lakhwani 
Dinesh Lakhwani, the entrepreneurial brain behind “TechCommuters,” achieved big things in the tech world. He started the company to make smart and user-friendly tech solutions. Thanks to his sharp thinking, focus on quality and the motto of never giving up, TechCommuters became a top player in the industry. His commitment to excellence has propelled the company to a leading position in the industry.
Popular Post


Recent Post

Supercharge Your Productivity: A Solopreneur’s and SMB’s Guide to Mastering Google Workspace with Gemini’
Picture this. It’s Monday morning. You open your laptop. Email notifications flood your screen. Your to-do list has 47 items. Three clients need proposals by Friday. Your spreadsheet crashed yesterday. The presentation for tomorrow’s meeting is half-finished. Sound familiar? Most small business owners live this reality. They jump between apps. They lose files. They spend […]

9 Quick Tips: How To Optimize Computer Performance
Learn how to optimize computer performance with simple steps. Clean hard drives, remove unused programs, and boost speed. No technical skills needed. Start today!

How To Speed Up My Computer/Laptop Windows 11/10 [2025]
Want to make your computer faster? A slow computer can be really annoying. It takes up your time and makes work more difficult. But with a few easy steps, you can improve your laptop’s speed and make things run more smoothly. Your computer slows down over time. Old files pile up. Programs start with Windows. […]
How To Fix Low Disk Space Error Due To A Full Temp Folder
A low disk space error due to a full temp folder is a common problem. Many users face this issue daily. Your computer stores temporary files in special folders. These files ensure optimal program performance, but they can accumulate as time goes on. When temp folders get full, your system slows down. You might see […]
How to Use Disk Cleanup on This Computer: Step-by-Step Guide
Computers getting slow is just the worst, right? Well, yes! Files pile up on your hard drive. Luckily, the Disk Cleanup tool on your PC is here to save the day. It clears out unnecessary files, giving your system the boost it needs to run smoothly again. A lot of users aren’t aware of the […]

Top 25 Computer Maintenance Tips: Complete Guide [2025]
Computer maintenance tips are vital for every PC user. Without proper PC maintenance, your system will slow down. Files can get lost. Programs may crash often. These computer maintenance tips will help you avoid these problems. Good PC maintenance keeps your computer running fast. It makes your hardware last longer. Regular computer maintenance tips can […]
Reclaiming Disk Space On Windows Without Losing Files: A Complete Guide
Running low on storage can slow down programs and trigger that annoying “low disk space” warning. Files accumulate over time, cluttering the drive. The good news? It’s possible to reclaim space without deleting anything important. Reclaiming disk space on Windows without losing files is easier than you think. Your computer stores many temporary files, old […]

Fix Issues Downloading From the Microsoft Store on Windows 11, 10 PC
Do you get excited when you’re about to download a new app or game? You open the Microsoft Store, click the download button… but nothing happens. Or maybe it starts and then suddenly stops. Sometimes, strange messages pop up like “Something happened on our end” or “Try again later.” That can be really annoying. But […]
Fix Low Disk Space Errors Quickly On Windows 11, 10 PC [2025]
Low disk space errors can slow down your Windows PC. These errors appear when your hard drive runs out of room. Your computer needs space to work properly. When space runs low, programs crash and files won’t save. Windows shows warning messages about low disk space. Your PC may freeze or run slowly. You might […]
How To Uninstall Software From My Computer: Complete Guide [2025]
Learning how to uninstall software from my computer is a key skill. Every PC user needs to know this. Old programs take up space. They slow down your system. Unused software creates clutter. When you remove a program from computer, you free up storage. Your PC runs faster. You also fix issues caused by bad […]